


Kasha Dubaniewicz
Kasha is passionate about high-impact storytelling and believes in making positive changes that will lead to a better and happier world for all.
Nutrient deficiencies in plants can pose a number of challenges. Not only can they be tricky to identify, but it can also be difficult to treat these effectively.
In fact, on a visual level, many deficiencies have identical or similar symptoms, such as yellowing leaves, brown leaf edges or stunted growth, and it's likely that your plants may actually be experiencing a number of different nutrient deficiencies in one go, making treatment all the more complicated.
Instead, you'll be making your life much easier if you get into the habit of looking after the fundamental parameters of plant health. The earlier in your growing journey, the better. That's because it's always easier to prevent potential nutrient deficiencies as opposed to treating them once they've already taken hold in your crops.
The fundamental parameters are pH (potential Hydrogen), EC (electrical conductivity) and temperature - in this case, the temperature of your plants' root zone.
In this article, we'll delve into each of these parameters in detail, looking at what happens to your plants when measurements are too high or low, as well as how to adjust them safely within your growing environment.
Remember: It's always easier to prevent potential nutrient deficiencies as opposed to treating them once they've already taken hold in your crops.
Article contents - click on the titles below to visit the section you need
- What is pH?
- What is EC?
- Why is temperature important for growing?
- Ready to start building your plant health fundamentals toolkit?
What is pH?
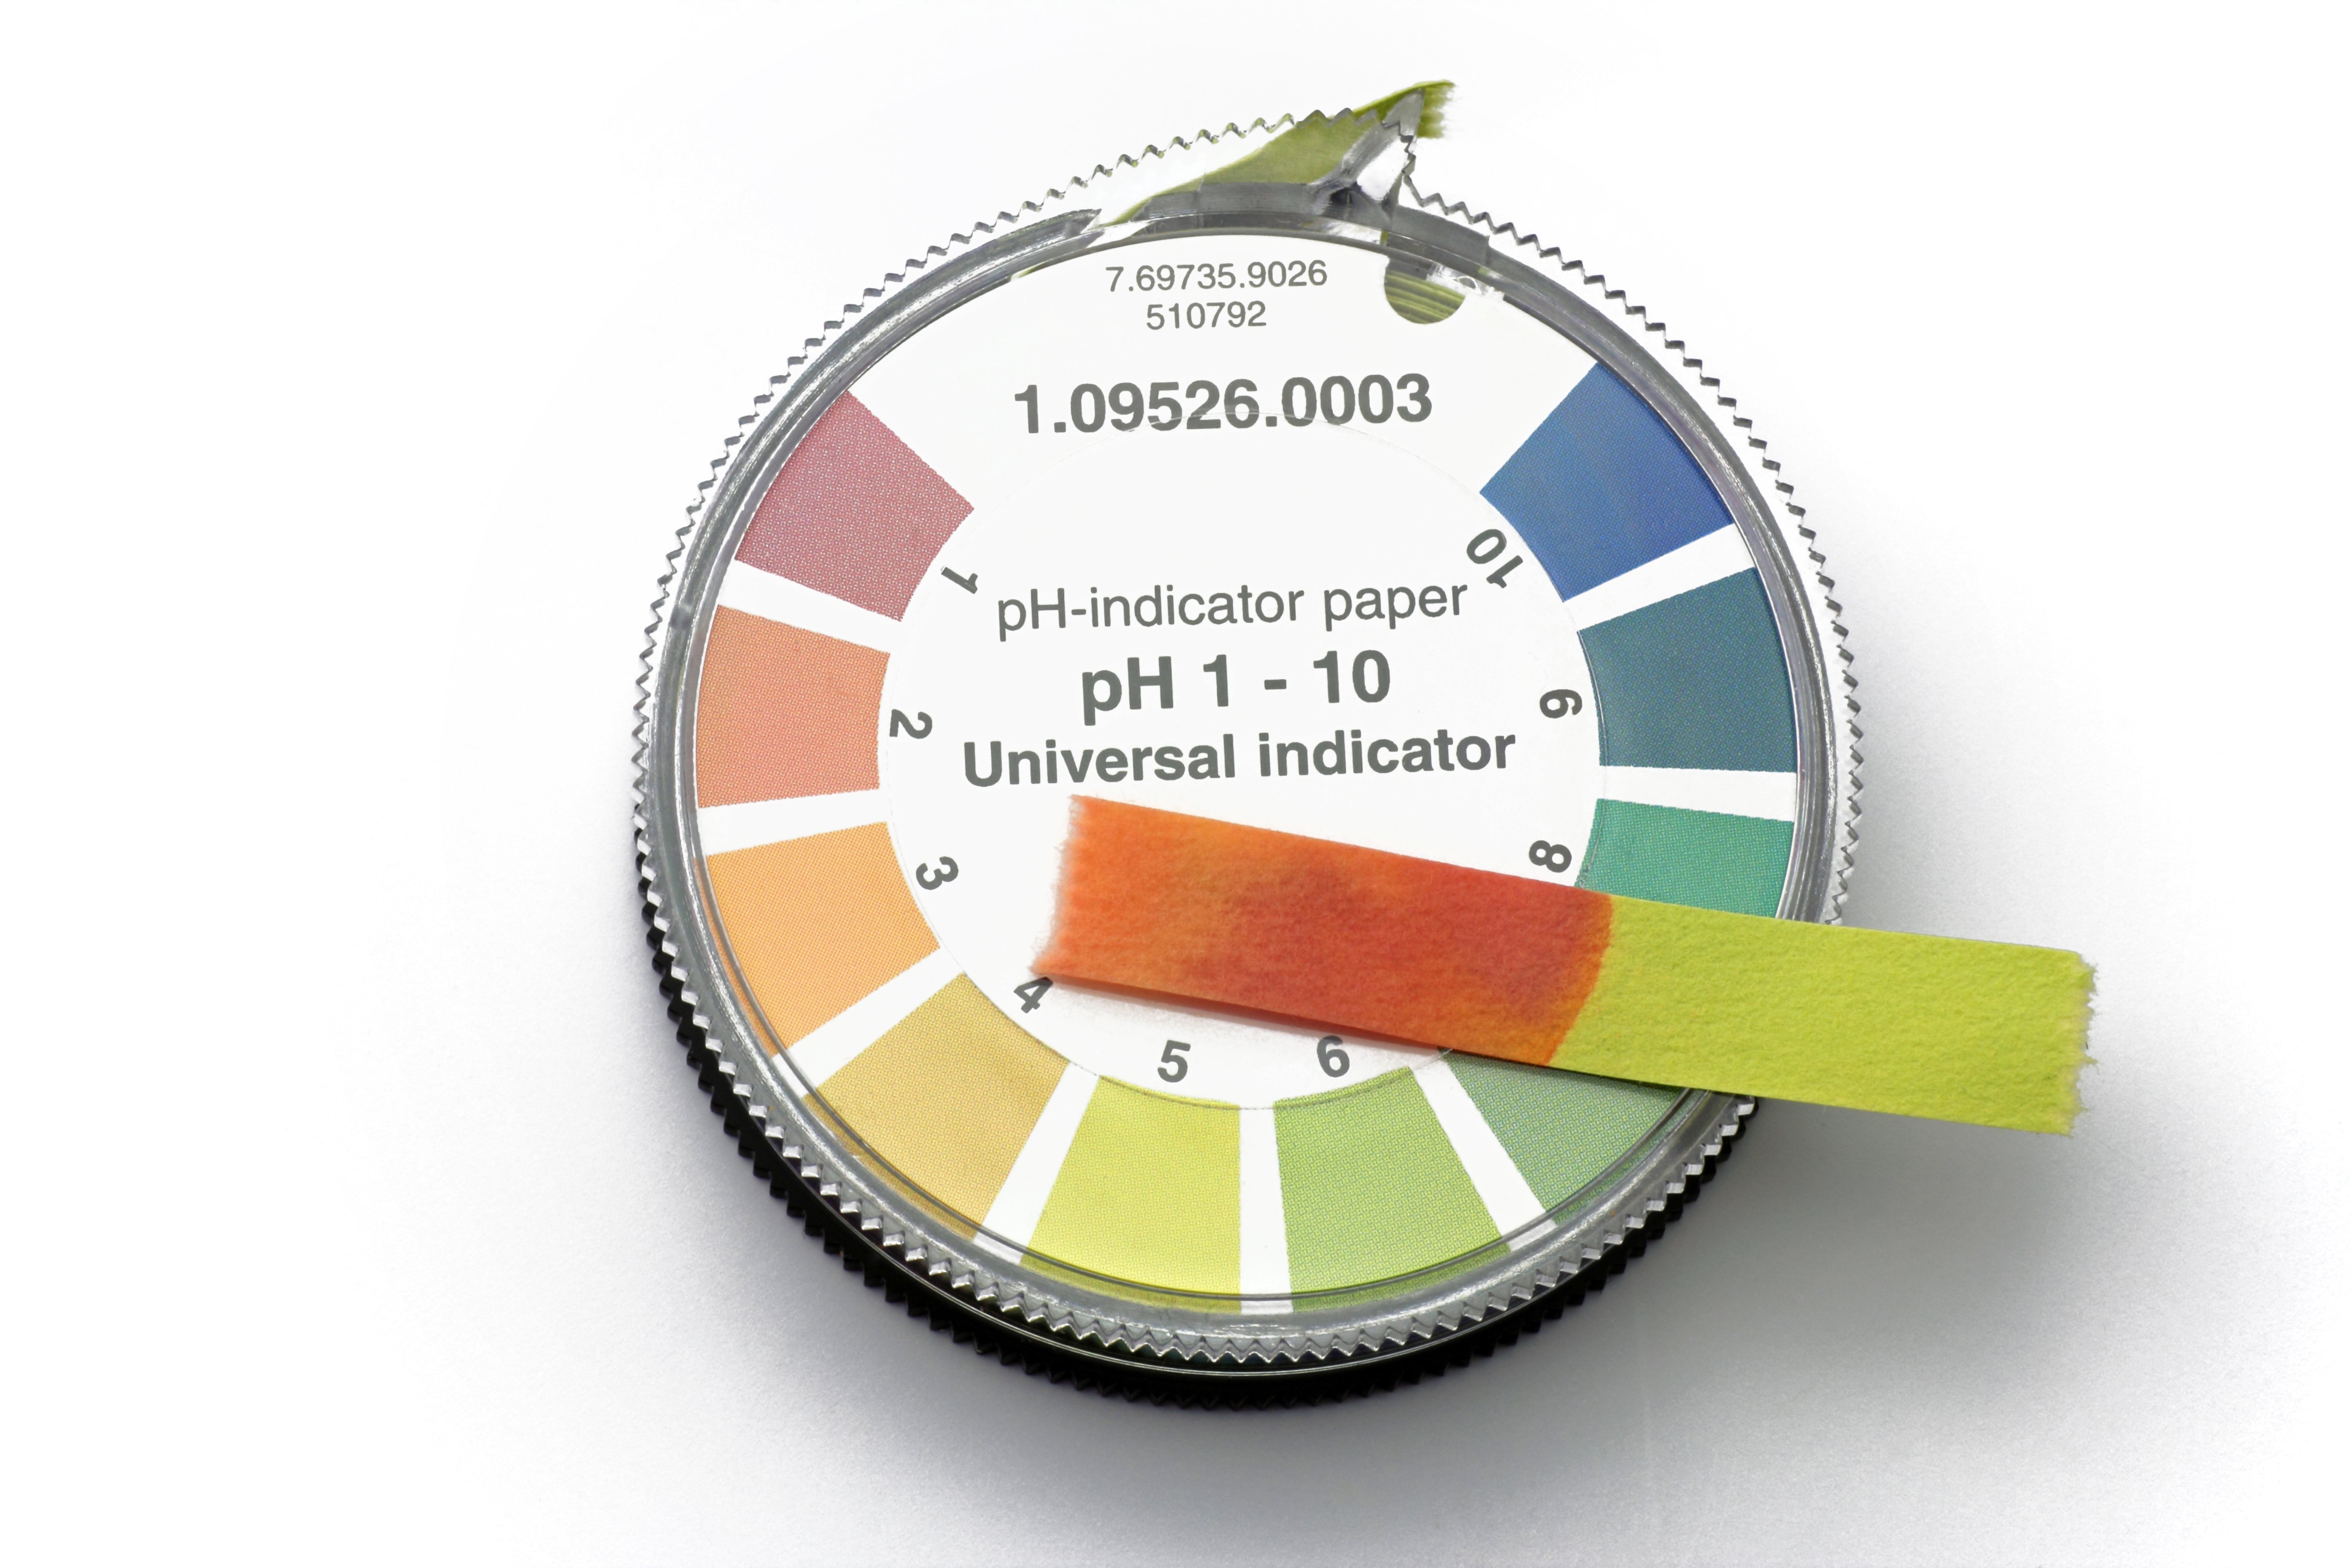
pH, which stands for potential Hydrogen, is a scale used to determine the acidity or basicity of a solution or substance - in this case, your hydroponic solution or your soil.
When you take a pH measurement, the number you see is based on the number of ions, specifically Hydrogen ions (H+). The total amount of these Hydrogen ions will determine the acidity or alkalinity; if there are more Hydrogen ions present, then your pH will be acidic (0-7) and if there are fewer H+ relative to hydroxyl groups (OH-), the pH will be alkaline (7-14). A pH value of 7 is considered to be neutral.
For a detailed introduction to pH, take a look at our article on what is pH and how do you measure it?
The role of pH in nutrient uptake
As we already know, all plants need to have access to a range of balanced nutrients so that they can reach their full potential of thriving health. Whether you're growing hydroponically or in soil or a soil-less media, your pH will play a pivotal role in making nutrients available to your plants.
That's because, in order to become available to your plants, your nutrients need to be soluble (dissolved in water) and have either a positive or negative electrical charge. What's more, each of these nutrient ions will have a preferred pH range within which they will be available to your plants.
Outside of this range, these nutrients won't be available for uptake, leading to a situation called nutrient lockout. Nutrient lockout can also come about when you overfeed your plants, as the excess nutrient ions can react with others to form new compounds that can't be taken up by your plants.
You may have heard the comparison elsewhere: while your nutrients are the food that plants need to grow, pH acts like a key, unlocking those nutrients so that they actually become available to your plants.
Ultimately, the pH of your nutrient solution and root zone affects your plants' ability to get the nutrients they need. Try to aim for what is known as the 'sweet spot' for your chosen growing method.
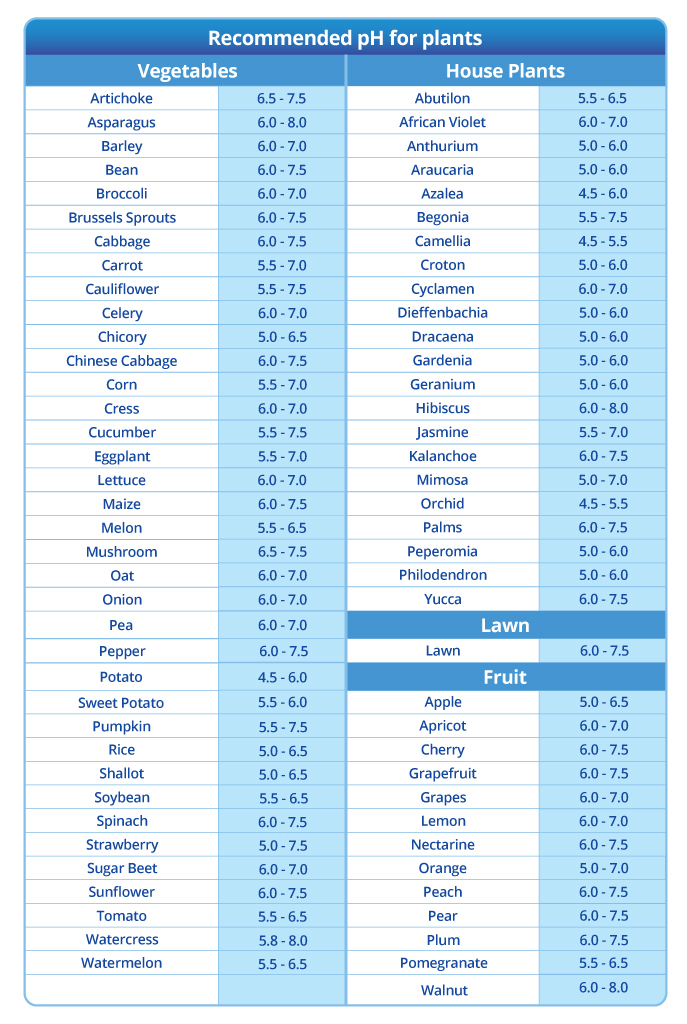
For hydroponics, your nutrient solution should be within the 5.8-6.5 pH range. For those growing in soil, your root zone should be measuring within the 6.5-7 pH range. That said, certain plant crops may thrive in more acidic or alkaline environments, so always look up the preferred pH range for the plants you're planning to grow.
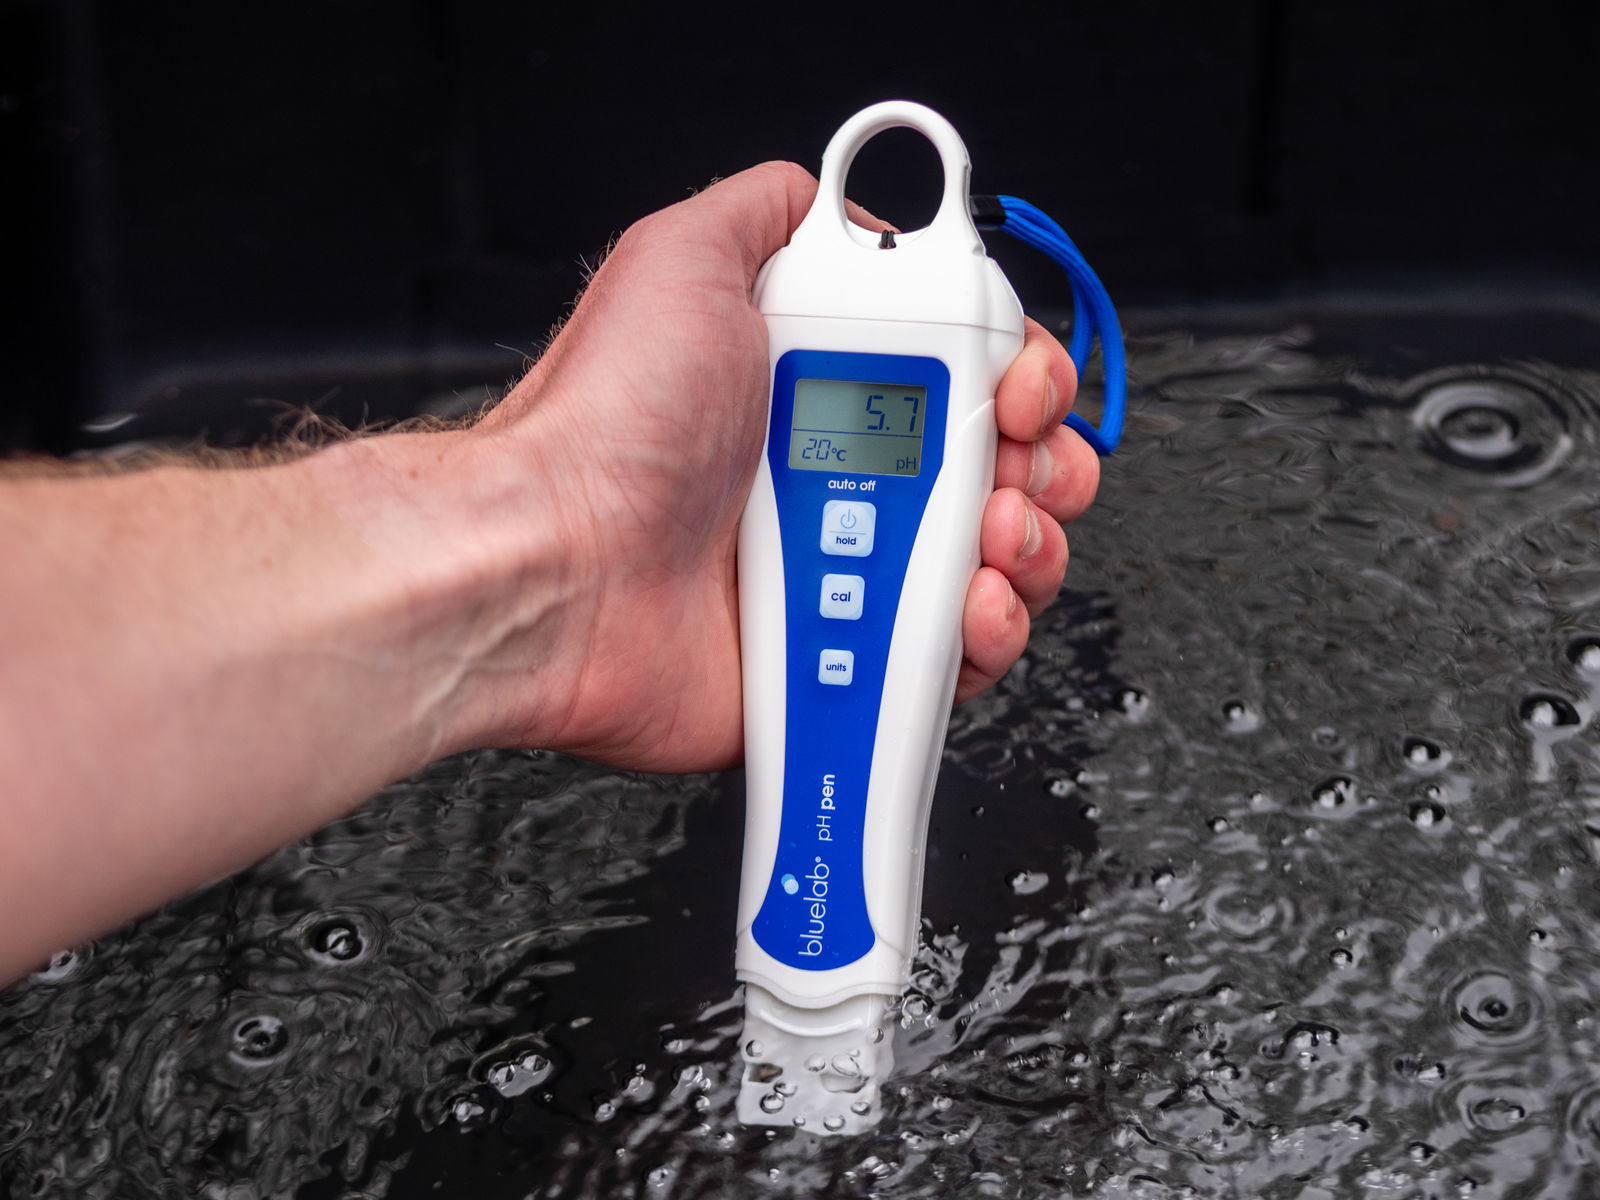
Featured product: Bluelab pH Pen
See the chart below for our recommended pH ranges for some of the most commonly grown crops:
Keep in mind that soil has a natural buffering ability when it comes to pH, which allows for small fluctuations, whereas there's far less room for failure in hydroponics, where there is no natural buffer. That said, some fertilisers and additives used in soil - as well as the natural composition of the soil - can cause vast or unexpected changes in your pH. In both cases, it's always safer to measure your pH regularly so that you can catch an issue before it takes hold.
The effects of incorrect pH
Since pH affects your plants' ability to absorb the nutrients they need, it's inevitable that your plants will show some physical symptoms if they've been dealing with an incorrect pH range for some time.
However, it's important to note that incorrect pH could cause a deficiency of some nutrients while creating a toxicity of others, as each nutrient will have a preferred pH range in which it will be more soluble and available.
Take a look at the following chart, which shows some of the most common nutrients, as well as their preferred pH range:
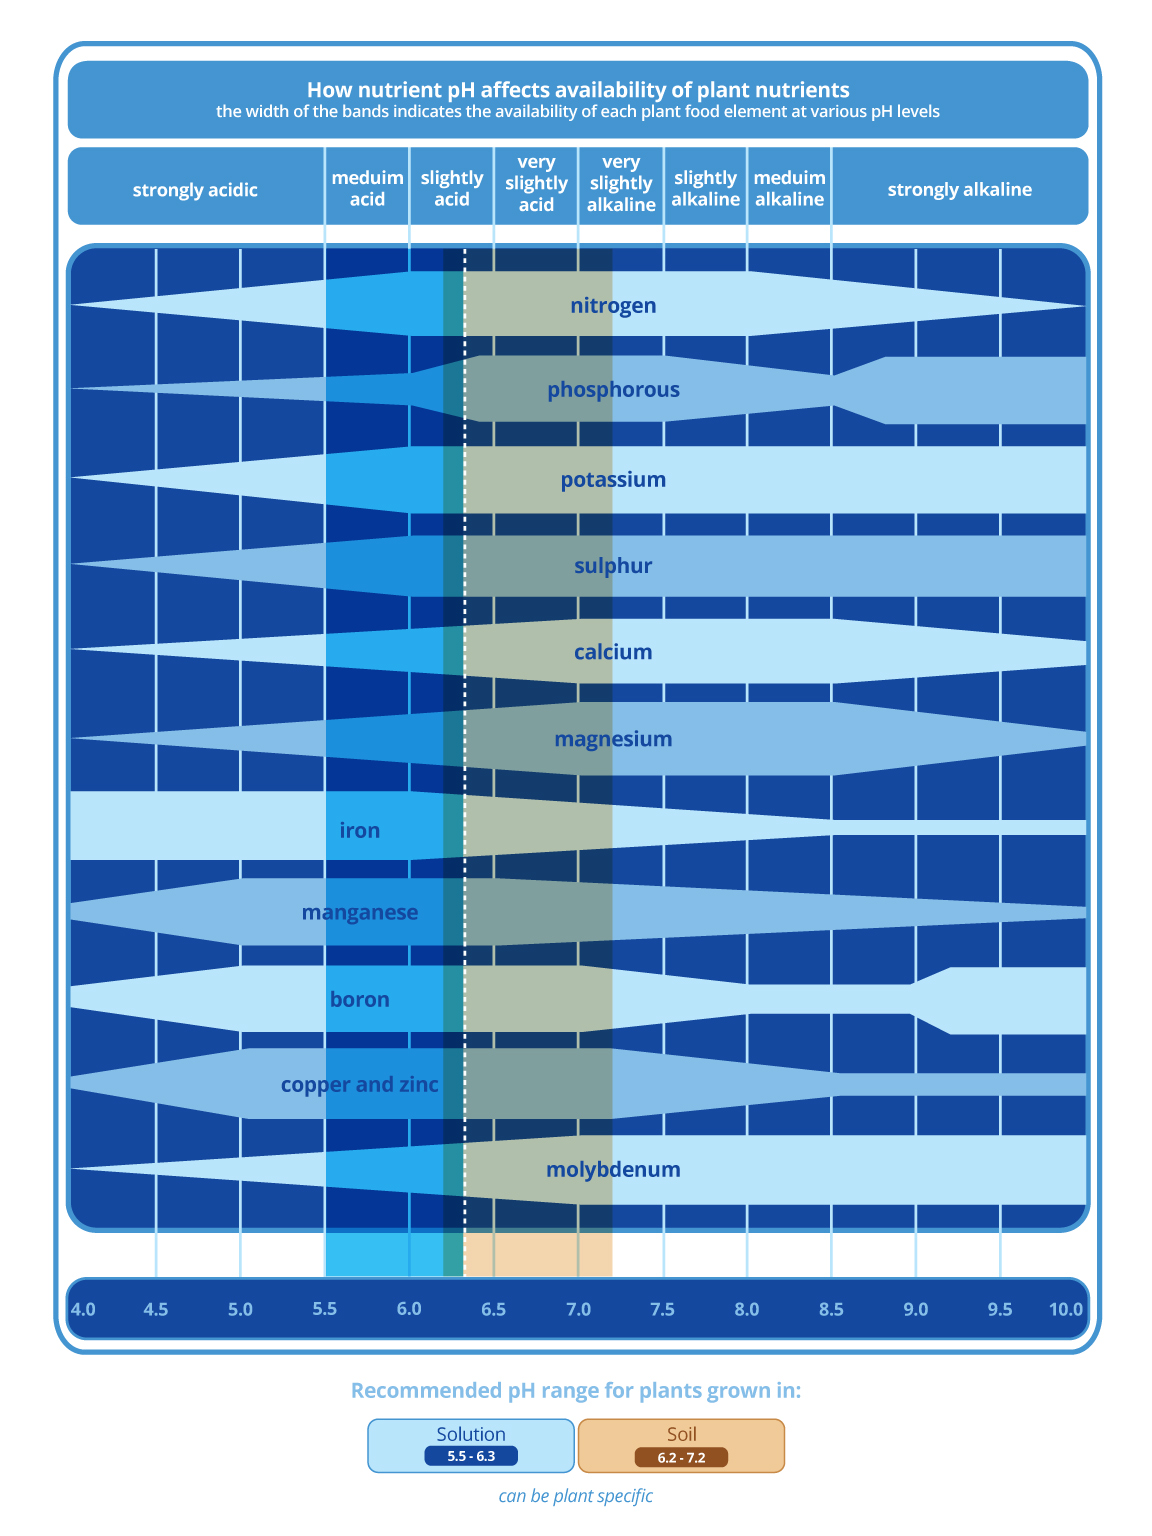
If your pH is too low - or too acidic - you can expect to see the following effects:
- Some elements are more soluble in an acidic environment, which may lead to toxicity, such as an iron or manganese toxicity.
- On the other hand, highly acidic growing media or solutions can result in nutrient deficiencies of magnesium, calcium and phosphorus.
- In terms of visual symptoms, these can include: yellow spots or yellowing leaves, leaf death, stunted growth and tip burn.
If your pH is too high - or too alkaline - you can expect to see the following results:
- As you can see on our chart above, many nutrients will be less soluble in an excessively alkaline environment, which could cause certain elements like iron, calcium or phosphate compounds to precipitate out, thereby becoming 'locked out' and unavailable to your plants.
- One of the hallmark features of an excessively alkaline environment is a deficiency of copper or zinc.
- Visual symptoms of high pH can include interveinal chlorosis, where the leaves yellow between the leaf veins, brown or yellow spotting, gradual necrosis and wilted or curled leaves.
How to lower pH
As seen in the charts above, most plants prefer a slightly acidic growing environment. When you measure your pH and notice that it's climbing, there are a few ways to adjust this, depending on your growing method.
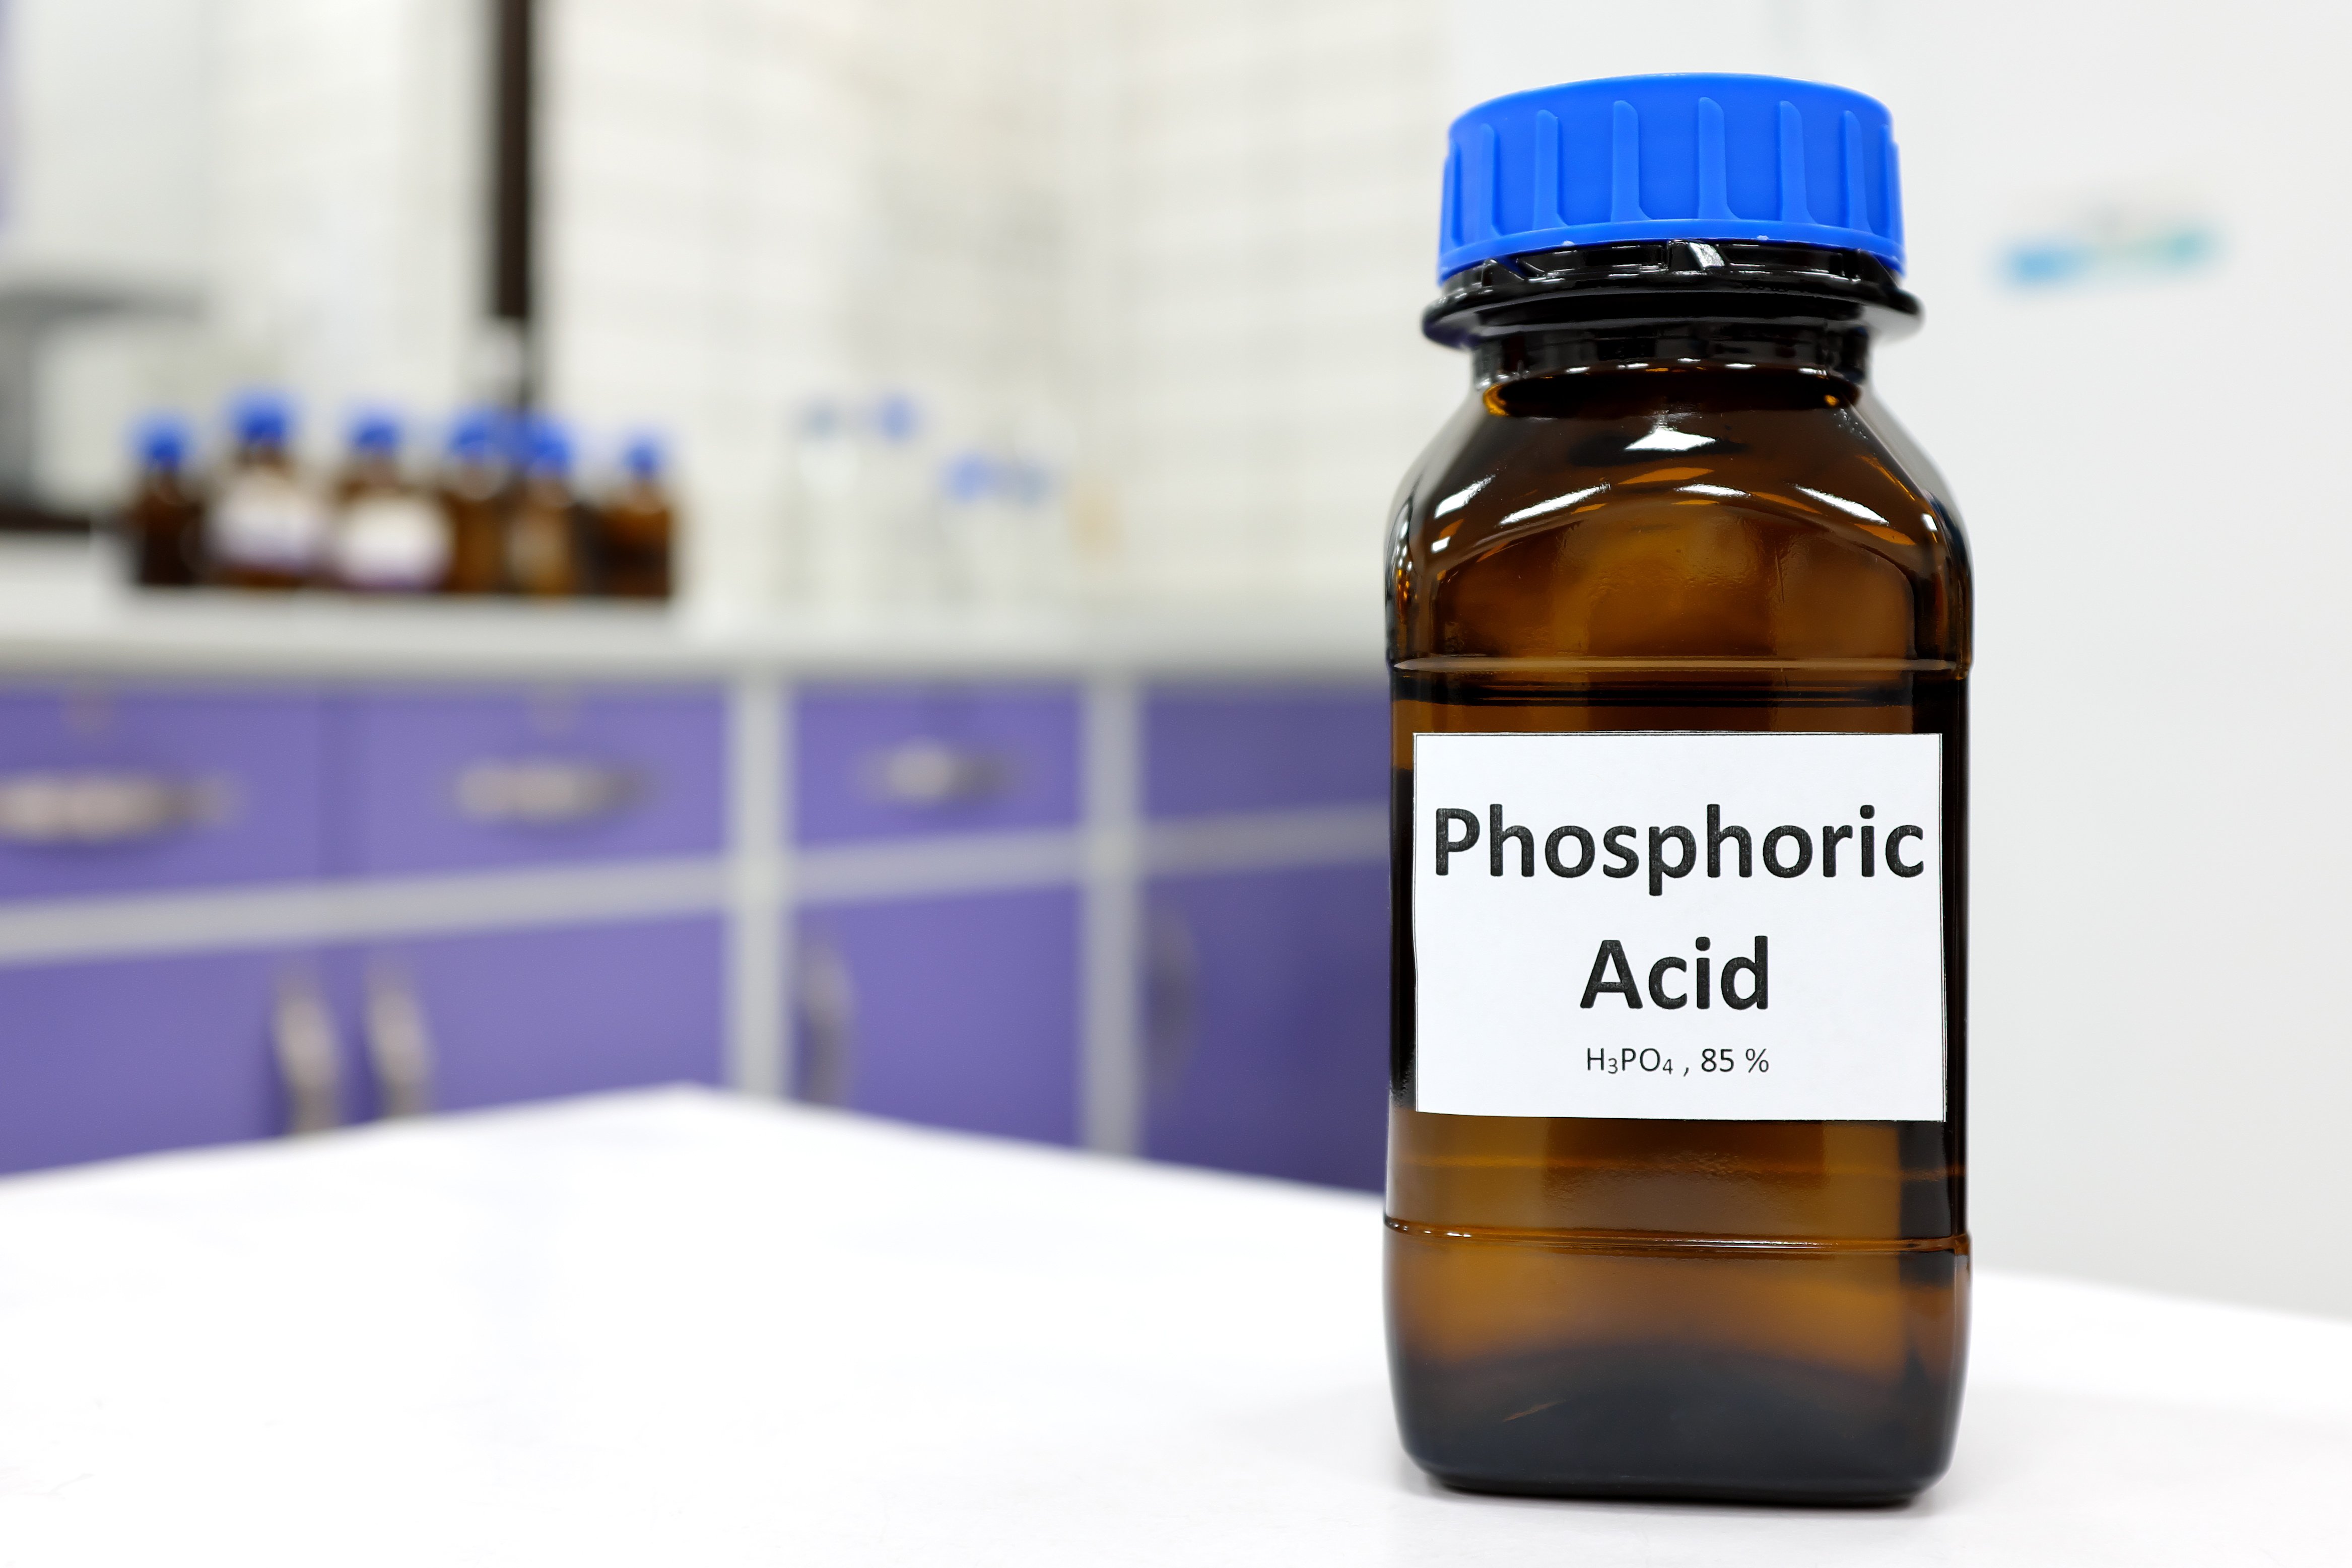
In hydroponics, the most common method for lowering your nutrient solution's pH is to use an acid like phosphoric acid or a shop-bought pH-down adjuster. No matter which one you choose, always remember to dilute this before adding it to your nutrient solution.
It's recommended that you dilute your acid or pH-down adjuster according to a ratio of 1:10 (one part of acid or pH-down adjuster to 10 parts of distilled or reverse osmosis water). Before doing this, check the directions on your chosen pH-down adjuster. It's always a good rule of thumb to add the diluted adjuster gradually, allowing the acid solution to mix properly, and measuring the pH so that you don't end up overshooting your target.
Depending on the crop you grow, you may be advised to use different acids according to where your plants are in their growing journey. Nitric acid is usually recommended during the growing phase, while phosphoric acid is advised during the flowering phase. Always seek expert advice if you're unsure and always wear gloves and glasses when handling any acids.
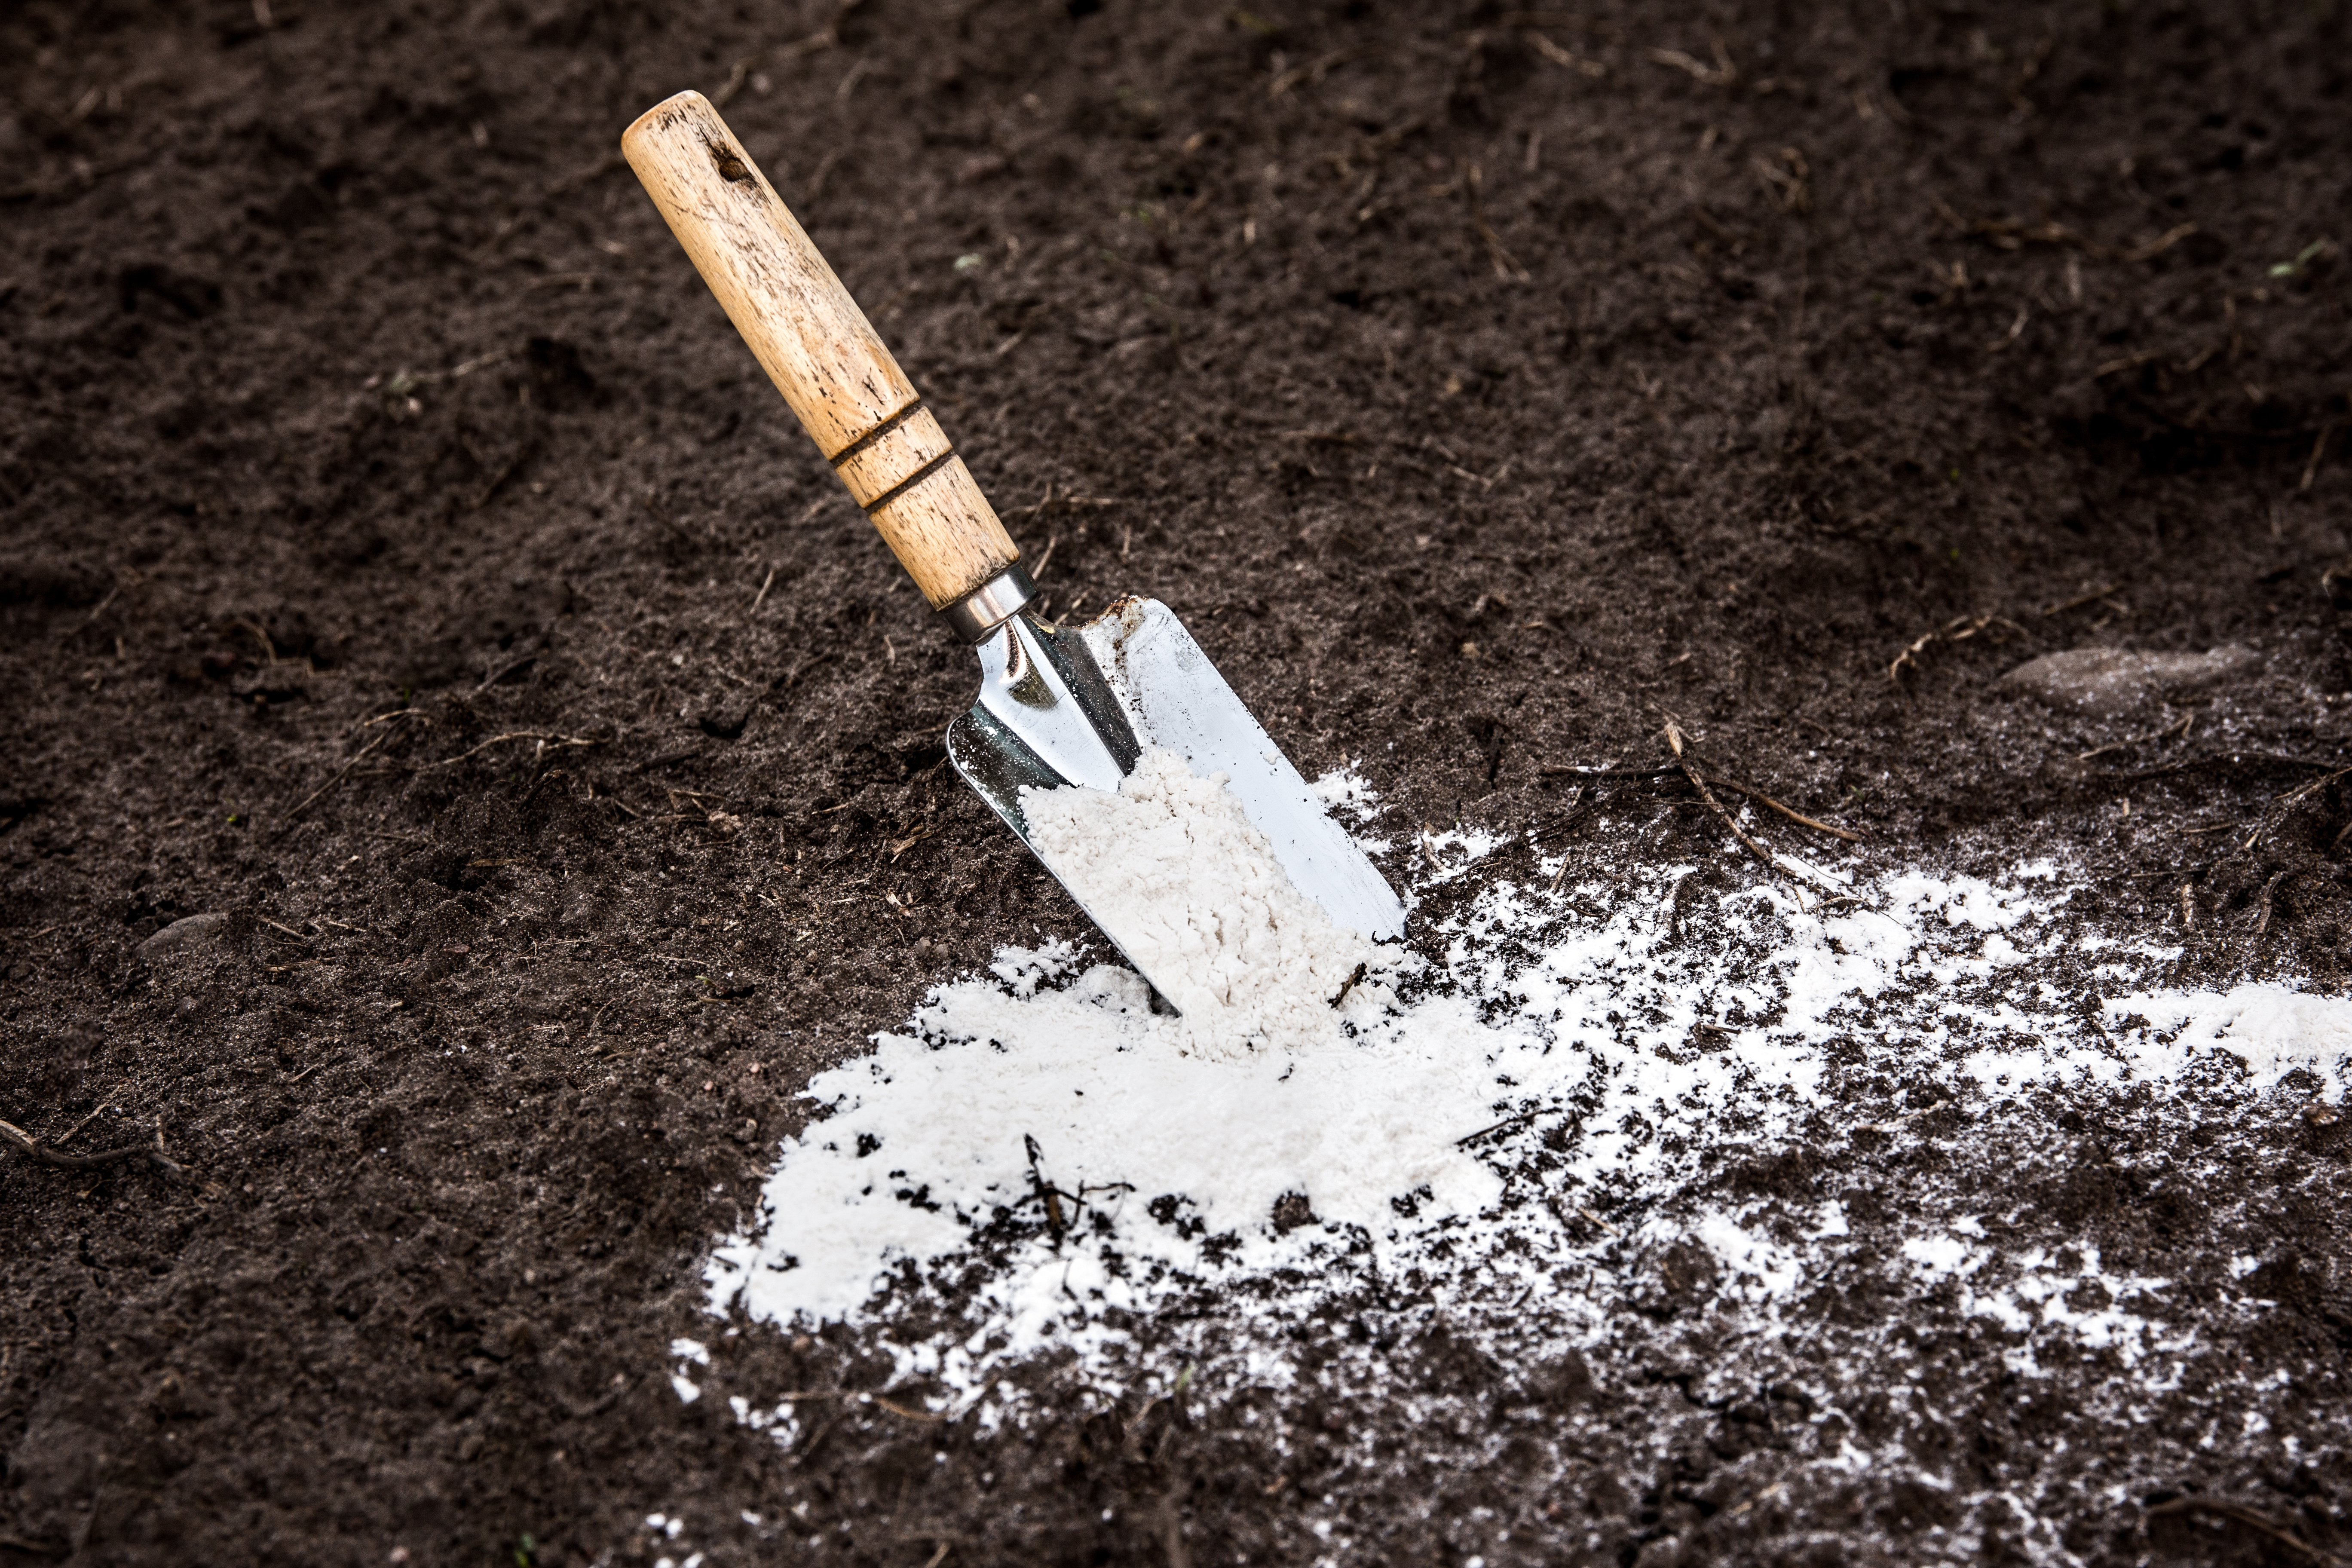
In soil, you'll also need to introduce a form of acid in order to lower the soil pH. There are a number of options, depending on how urgently you need to lower your soil pH.
Sulfur is most commonly added to lower soil pH, although this breaks down slowly over time, which means that your soil pH will only lower very gradually. This is because it takes time for the bacteria in the soil to break down the sulfur into sulfuric acid, which will lower the pH. Any other organic sources, like compost or manure, will also take a while to break down.
For a faster solution, you can use an additive like aluminium sulfate, which acts very quickly. However, because of this, pay careful attention to the package instructions. You don't want to apply too much nor should aluminium sulfate be used for large applications, as this can lead to soil toxicity.
There are all sorts of other recommendations for lowering pH, from using coffee grounds to peat, but it's always worth asking an expert and it's important to specify the type of soil you're currently growing in (sandy, clay etc).
How to increase pH
If you take a pH measurement and the reading as too low - or too acidic - you'll need to increase the pH by making it more alkaline. As with lowering pH, your options for increasing pH will depend on which growing method you're currently using.
In hydroponics, you'll normally add a bicarbonate to increase your nutrient solution pH. This is normally done by using potassium silicate or a shop-bought pH-up adjuster. Similar to lowering pH, you always want to make sure that your bicarbonate is diluted appropriately, usually in a ratio of 1:10 (one part of bicarbonate or pH-up adjuster to 10 parts of reverse osmosis or distilled water). If you're using a pH-up adjuster, always follow the instructions on the packaging.
When you adjust, do so with caution; rather add your diluted adjuster gradually, testing the pH all the while so that you don't end up overshooting your target. In addition, always use protective gear, like glasses and gloves, when handling any chemicals.
If you're living in an area that has hard water, you can also use this to increase your nutrient solution pH. That's because the bicarbonates in hard water act as a buffer for the excess acidity, slightly raising the pH. This method should only be used when you need to make a small adjustment to your pH.
In soil, increasing the pH is often referred to as liming, which makes the soil more alkaline. Similar to lowering your soil pH, what you use to increase soil pH very much depends on how urgently you need to fix the issue.
The most common liming agent is a form of powdered limestone. This can be sold in a variety of forms, which will affect the soil pH at different rates. Pulverised lime is the fastest, since it's finely ground and will be absorbed by the soil quickly. Other forms, like lime pellets or granular lime, will break down at a slower rate, gradually increasing the soil pH.
There are other liming agents to consider, such as calcitic lime, which is referred to as a purer liming agent, or dolomitic lime, which will also add magnesium to your soil.
Another option would be to make use of wood ash. Wood ash may not be as effective as lime, but it will gradually increase the pH of your soil over time and it is a cost-effective option.
Please note that liming agents, including ash, can cause skin and respiratory irritation. Always wear protective gear, including a mask and gloves, when treating your soil with a liming agent.
What is EC?
EC stands for electrical conductivity, and it's seen as a measure of the total amount of food available to your plants. As mentioned earlier, all plants need access to the right amount of food, but plants are only able to absorb nutrients when they're in ionic form.
When nutrients dissolve in water, they split into ions. Each of these ions carry an electrical charge, which creates the potential for electricity to move through that solution. Pure water, on the other hand, is a poor conductor of electricity as it doesn't contain ions. The more ions a solution contains, the better it can conduct electricity.
EC is measured in milliSiemens per centimetre, but, unlike pH, there is no universal scale for measuring conductivity. In fact, there are at least four common scales in use, so it's always important to be aware of the scale your conductivity meter - and your nutrient supplier - is using.
These are the four most common conductivity scales:
- EC (Electrical Conductivity) [1 mS/cm2 = 1 EC]
- PPM (Parts per Million) [EC x 700]
- TDS (Total Dissolved Solids) or DS (Dissolved Salts) or MS (Measured Salts); otherwise known as PPM 500 [EC x 500]
- CF (Conductivity Factor) [EC x 10]
It's important to note that your conductivity measurement is only showing you the total amount of nutrients available to your plants; it will not show you the breakdown of each available nutrient.
For a comprehensive introduction to EC - including how and where to measure it - take a look at what is conductivity and how do you measure it?
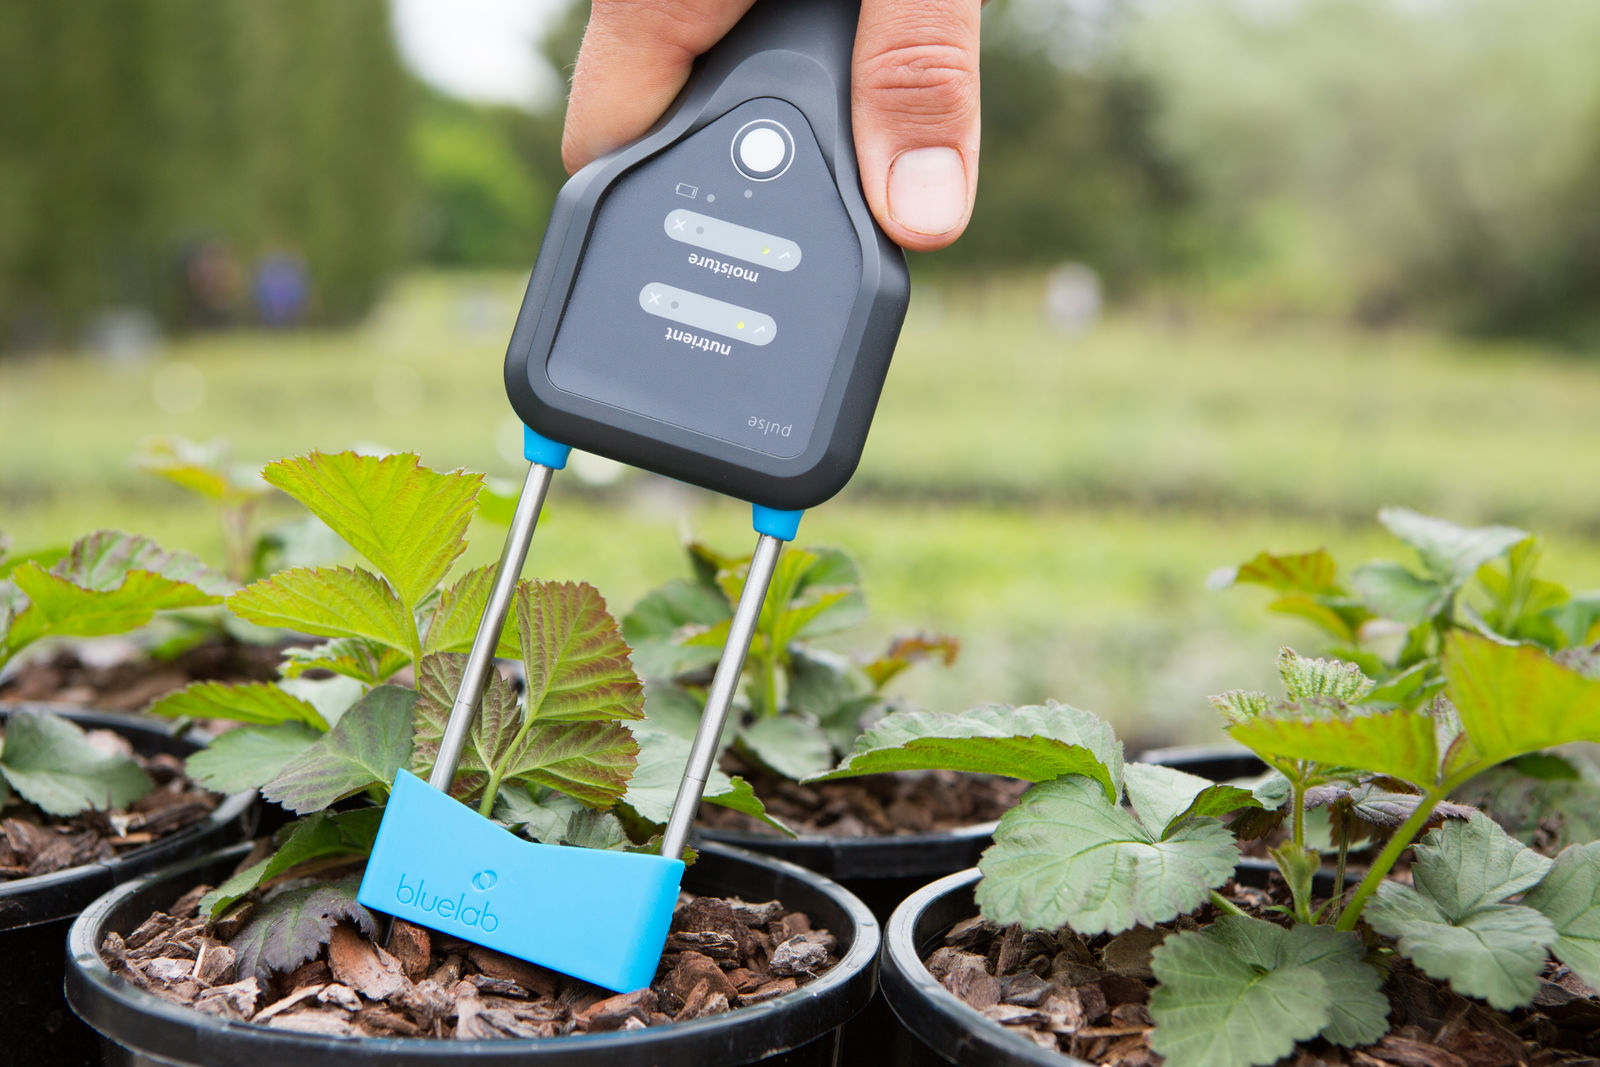
Featured product: Bluelab Pulse Multimedia EC/MC Meter

The role of EC in nutrient uptake
On the most basic level, you need to have nutrients available so that your plants can absorb them. Measuring the EC will give you an idea of the overall amount of ionic content - or nutrients - currently available.
There may be a temptation to simply feed your plants as much as possible so that they always have nutrients available, but this can have disastrous results. Instead, plants have a preferred EC range in which they can achieve optimal health.
Take a look at the chart below to see the preferred EC ranges for some of the most common crop types:

It's also worth noting that particular crop types may require different nutrient strengths depending on where they are in their growing cycle. It's advisable to do some research on your chosen crop or consult an expert to ensure that you're aiming for the correct EC range throughout your plants' growing cycle.
However, your EC measurement doesn't just have an effect on how many nutrients are available for absorption, it can also affect your plants' ability to take up water. In fact, when your EC is extremely high, this will stop your plants being able to take up enough water.
In hydroponics, it's recommended that you measure your nutrient solution at the time of mixing, as well as after it's had time to become available to your plants. When growing in soil, it's harder to measure the nutrient strength of the fertilisers, additives or organics you're applying; that's because these take time to break down and become available for absorption. However, you can measure your root zone EC directly by using a soil EC meter.
You should expect that your EC value will fluctuate, which is why it's so important to measure EC every single day. By doing so, you'll be able to spot and fix issues much more quickly. It's especially important to measure EC on warmer days, as your plants may only be taking up water, not nutrients, which would raise your EC considerably.
However, as we now know, EC isn't the only fundamental you should be tracking. While it's important to ensure that your plants always have access to the right amount of food, the pH of your root zone or nutrient solution will affect your plants' ability to absorb that food. That's why we recommend that you get into the habit of measuring both of these fundamental parameters on a daily basis.
Lastly, for hydroponic growers, it's a good idea to get into the habit of completely emptying your reservoir and supplying fresh nutrient solution every seven to 10 days. Plants are selective about the nutrients they take up, which means that, over time, the composition of available nutrients could become unbalanced, which could potentially cause nutrient deficiencies or toxicities.
The effects of incorrect EC
As seen in the chart above, particular plant crops will have preferred EC ranges in which they'll thrive. If your plants are subjected to an EC that falls outside of this range for some time, they will start showing symptoms of poor plant health.
When it comes to nutrients specifically, your plant may begin suffering from deficiencies or toxicities. As we discovered in our article on common nutrient deficiencies and how to fix them, it's likely that your plants could be suffering from a number of deficiencies/toxicities at the same time. Not only that, but due to the similarity of symptoms, it can be difficult to identify a particular deficiency or toxicity.
If your EC is too low, your plants won't be able to get enough food, which could result in the following symptoms:
- Leaf discolouration (leaves turn yellow or brown)
- Holes in leaves or brown spots of necrosis
- Stunted roots and growth
- Difference in crop yield
- Stunted, twisted or misshapen leaves
On the other hand, if your EC is too high, this can cause a number of issues, such as nutrient or salt burn as well as nutrient toxicities. An extremely high EC may also prevent your plants from being able to get enough water to cover their basic needs, and your plants could start to wilt and die.
Here are the symptoms you may start to see if your EC is too high:
- For nutrient toxicities, you could see leaf discolouration, usually in the form of interveinal chlorosis, as well as thickened or necrotic roots, brown spots of necrosis in leaves or a change in the size and amount of leaves on your plants.
- In the case of nutrient burn, leaves may take on bent leaf tips, as well as burnt-looking edges, with leaves eventually twisting or curling under as the issue takes hold.
- If your plants can't get enough water due to high levels of nutrients, leaves and stalks may start to wilt and droop, with once-shiny leaves taking on a dull appearance. Plant growth will also slow down.
Instead of trying to treat the symptoms of incorrect EC, make sure that you're testing your EC regularly - no matter your growing medium. This will ensure that any issues can be spotted and fixed quickly.
Recommended products for measuring EC:
Bluelab Conductivity Pen
Bluelab Pulse Multimedia EC/MC Meter
Bluelab Truncheon Nutrient Meter
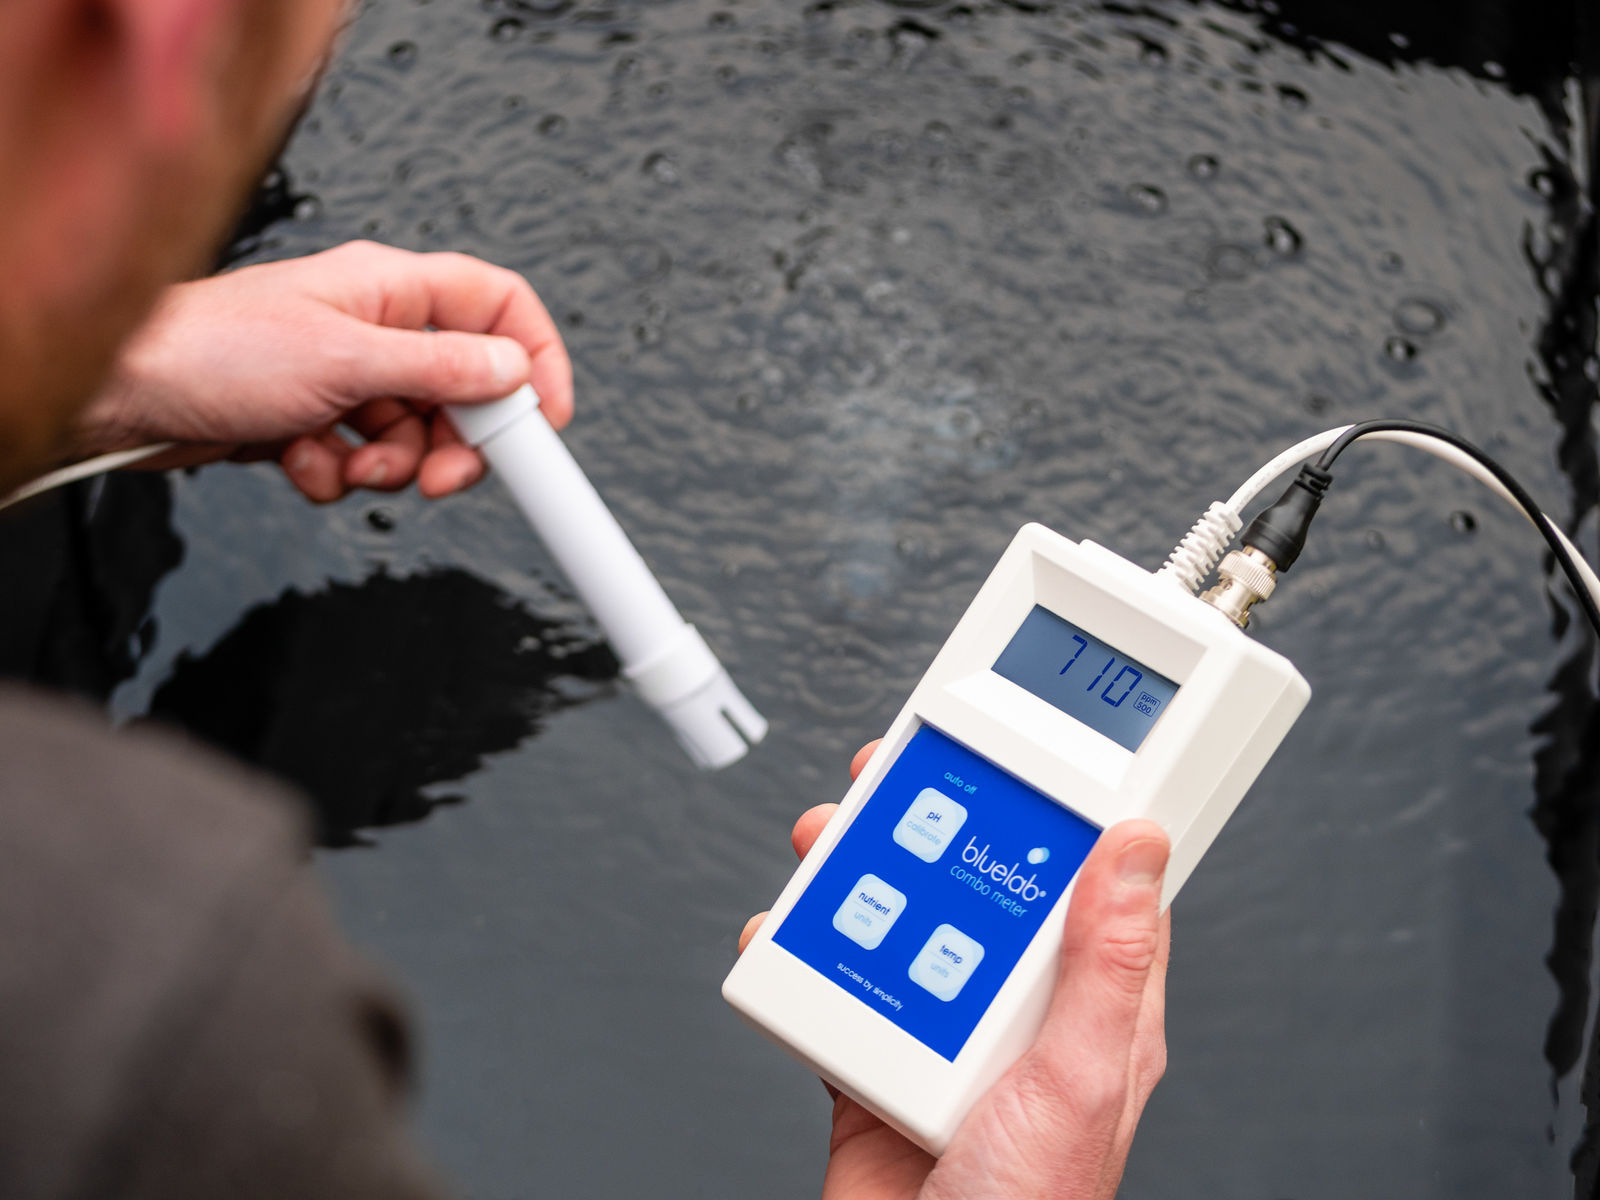
Bluelab Combo Meter
How to lower EC
If you take an EC measurement that's too high, there are a number of things you can do to remedy this.
In hydroponics, you can simply add more (pH-balanced) water to your reservoir. This will effectively dilute the concentration of salts, which will lower your EC. If you have extremely high EC levels and your plants are showing any new symptoms of poor health, it may be worth flushing out your system completely, rinsing the roots and initially topping up with a lower-strength nutrient solution. It may also be worth getting in touch with an expert.
In soil, the logic is the same - dilution is key to lowering your EC. Simply add pH-balanced water; in the case of growing in pots or containers, water until fully saturated and then allow to drain. You would then measure the EC of the run-off. Repeat this process; then compare the EC of the run-off with your original root zone EC reading.
When you feel confident that you've flushed out enough salts, you can either reintroduce your plants to their normal nutrient strength or a lower-strength version, depending on how high the EC was and how long your plants were affected by it. As always, if you're unsure, contact an expert.
How to increase EC
Increasing the EC is far more straightforward. In both hydroponics and soil, this is simply a matter of adding either more nutrient solution or your chosen fertiliser or additive. Make sure that you take EC measurements after dosing so that you don't end up overshooting your target.
This is not the same course of action for treating a nutrient deficiency, however; check out our guide to common nutrient deficiencies and how to fix them for more information.
Featured product: Bluelab Combo Meter
Why is temperature important for growing?

pH and EC are both critical for thriving plant health, but temperature also plays a pivotal role in achieving optimal growth. It also happens to be the fundamental parameter that's most commonly overlooked.
When you think about temperature in the context of a growing environment, you could be referring to the temperature of the air around the plants or you could also be referring to the temperature of nutrient solution or irrigation water, which will affect the root zone temperature.
While air temperature is important, for the purposes of this article, we'll be focusing on root zone temperature and its effect on nutrient uptake and overall plant health.
That's because your plants' root system is the location of two essential chemical processes: water and nutrient absorption. In each of these processes, having the correct root zone temperature is paramount for these to occur efficiently.
The role of root zone temperature in nutrient uptake
In a nutshell, root zone temperature will affect the rate at which your plants are able to absorb nutrients. If you let your root zone temperature remain unmonitored and uncontrolled, this could lead to disastrous effects on your overall crop yield.
Nutrient absorption is largely driven by chemical processes, that take place in your plants' roots; the efficacy of these processes are determined by the temperatures that those roots are exposed to. Once your root zone temperature moves out of its optimal range, the plant will not be able to deliver optimal levels of nutrients and water.
Ideally, you should aim to have your nutrient solution or irrigation water temperature at around 18 – 22 °C (65 - 72 °F) to ensure optimal nutrient and water uptake.
In addition to having an effect on nutrient absorption, your root zone temperature also affects oxygen availability and solubility. If your water is too warm, you could risk starving your roots of oxygen as warm water cannot hold as much dissolved oxygen as colder water. On the other hand, if your water is too cold, this could shock your plant roots, decrease plant metabolic rates and stunt plant growth.
That said, like we've seen with the parameters of pH and EC above, each plant type will have a preferred root zone temperature range, so it's advisable to check this for the crops you are currently growing.
Overall, being able to maintain a particular root zone temperature depends on a number of factors: local climate, chosen growth medium, the temperature of the growing area (LED lights can create extra heat) and more.
But, when you get this right, regulating root zone temperature can have a wide range of benefits: you can optimise water and nutrient uptake, counterbalance the effects of sub-optimal air temperatures and promote consistent leaf and fruit development.
The effects of incorrect root zone temperature
If you're growing in soil, your root zone temperature will have fewer fluctuations, as soil, especially denser types of soil, act as an effective temperature buffer. In hydroponics, your root zone is more vulnerable to fluctuations. However, regardless of which growing method you're using, it's important to monitor your root zone temperature and know how to adjust this if you spot any issues.
Ultimately, if your root zone temperature gets too hot or too cold over a consistent period of time, this could lead to your plants becoming dormant, as their roots won't be able to carry out their normal functions. This will drastically affect normal plant growth as well as crop yield. Likewise, if you introduce nutrient solution or irrigation water that's too hot or too cold, this big and sudden change in temperature could send your plant roots into shock.
Apart from these common effects described above, here are some of the other effects you can expect to see if your root zone temperature gets too warm:
- A warmer root zone leads to an increase in metabolic reactions, including an increase in nutrient uptake. This could cause nutrient toxicity symptoms, including leaf discolouration, thickened or necrotic roots and a change in the size and amount of leaves on your plants.
- Having a warmer root zone will also likely lead to an increase in pathogens, such as infections or diseases. In hydroponics, this could be prevented by ensuring that your keep your setup as sterile as possible.
- When your root zone temperature increases, there will be less dissolved oxygen available. This will impact critical plant processes like respiration.
In addition to the common effects of having an incorrect root zone temperature above, these are some other effects you can expect to see if your root zone temperature is too low:
- Your plants' metabolic reactions will slow down, which means that your plants will be susceptible to nutrient deficiencies. You could expect to see symptoms such as interveinal chlorosis, stunted plant growth, brown leaf edges or spots, as well as leaf necrosis.
- As with warmer temperatures, a consistently low root zone temperature can also attract unwanted infections and diseases.
How to lower root zone temperature
In hydroponics, there are a few ways that you can lower the root zone temperature. This is primarily done by monitoring and, when needed, lowering the temperature of the nutrient solution in your reservoir.
Depending on your budget, you can use a mechanical chiller, which has an inbuilt thermostat that will enable them to maintain a pre-programmed temperature. More popular, however, are stainless steel chilling coils, which can be installed in your reservoir. It's a good idea to visit your local grow store to look at the options that best suit your budget and setup requirements.
In addition, you could consider insulating your reservoir, as this will help to maintain steadier temperatures.
In soil, you'll experience fewer temperature fluctuations, especially if your soil type is on the denser side. That said, there are some tried-and-tested methods for keeping a cooler root zone temperature. This includes making use of cover crops, which are planted between cash crops to provide shade, thereby cooling the soil, as well as preventing water evaporation from the soil. You can also make use of shade covers or shade cloth during the hotter months, which may help to keep your root zone cool.
You could also consider incorporating some type of insulation during the warmer months. This would help to prevent the worst heat of the sun from being absorbed into the soil, and therefore your root zone. Common types of insulation include mulching, as well as using synthetic soil covers.
How to increase root zone temperature
In hydroponics, one of the simplest ways to increase your root zone temperature is to make use of a separate holding tank. In that way, if your irrigation water or nutrient solution is consistently coming out too cold, you can keep it in the holding tank, letting the liquid take on a warmer temperature before adding it to the reservoir. You can also make use of heated holding tanks if you live in an area that generally has a colder climate.
In addition, you may want to consider insulating your reservoir and elevating it above any concrete surfaces. This will help maintain a more ambient temperature.
You can also make use of mechanical heaters; however, since nutrient solution is corrosive, you will want to incorporate a heat exchanger. There are many different options, so it's best to contact your local grow store to find the solution that best suits your needs and budget.
In soil, there'll be fewer temperature fluctuations, as soil can act as a buffer, especially the denser your soil is. However, if you notice that your root zone temperature is consistently too low, there are some technical solutions that you can employ, such as embedding heating cables in a sand bed or using heat mats that have temperature control. As with any new equipment, it's best to visit your local grow shop to find a product that best suits your budget and needs.
A low-tech option is to make use of mulching during the colder months of the year. Mulching provides insulation, preventing the escape of heat from your soil. You can also incorporate other types of covers to insulate your soil, such as plastic.
Ready to start building your plant health fundamentals toolkit?
Now that you know why pH, EC and temperature are all essential parameters, you can start putting together your ultimate plant health fundamentals toolkit. Find out the different ways to test pH, EC and temperature, and what you need to know when selecting your tools.
Submit a comment